Raised garden boxes are a way to increase vegetable yields by controlling the soil mixture, fertilizer, and water. They are easier to prepare, plant, water, weed, and harvest than traditional beds.
We have added raised garden boxes to our garden to reduce the effort required to have a successful garden.
Here are the steps to building a raised garden box:
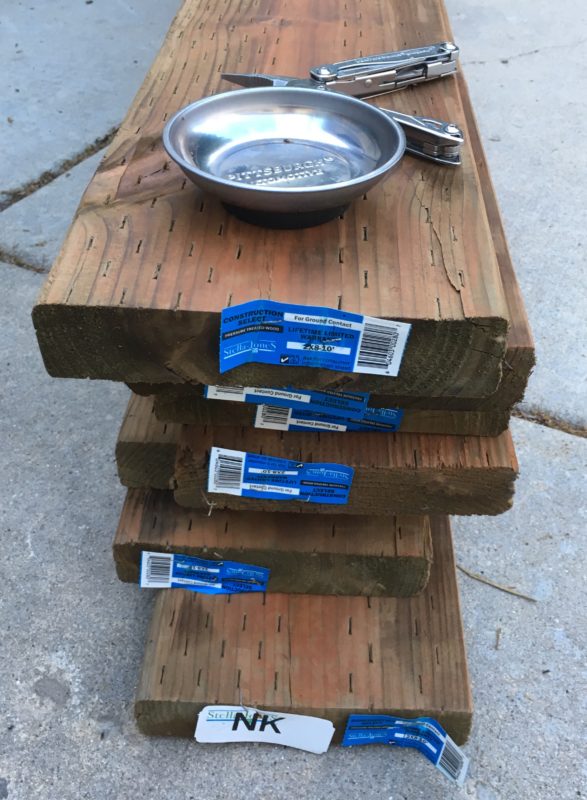
- Buy the lumber. We used 2 inch x 8 inch x 10 foot pressure-treated boards. The boards are tall enough to contain our soil mixture. The pressure treating formula is copper-based. It will preserve the boards without introducing toxins into the garden. To build three 1 1/2 x 10 foot beds, we need seven boards.

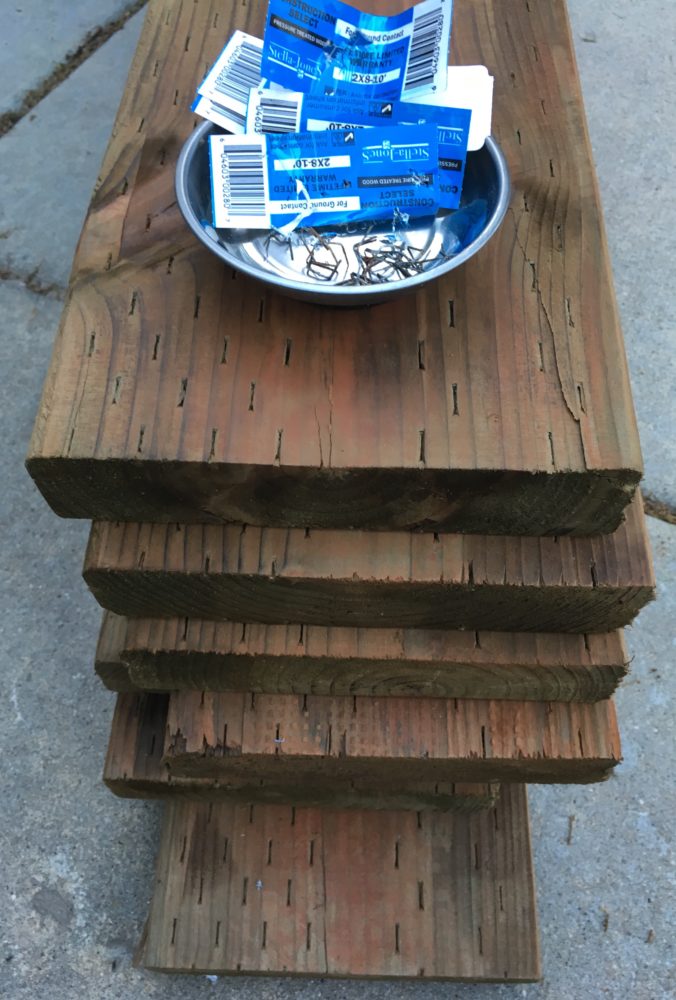
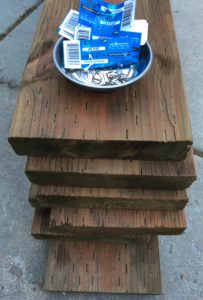
- Remove the staples. The pressure-treated lumber we bought from Home Depot had lots of staples in each board to attach labels and to secure a plastic wrap used to protect the entire bundle from the weather. Staples left in the wood could cause injuries later. We used a small, flat-blade screwdriver to pry up each staple. We then could grab each staple with a pair of pliers to pull it out. A magnetic parts holder kept the staples from getting lost after they were pulled.

- Throw away the staples and labels. Then check the lumber to ensure that you didn’t miss any staples.
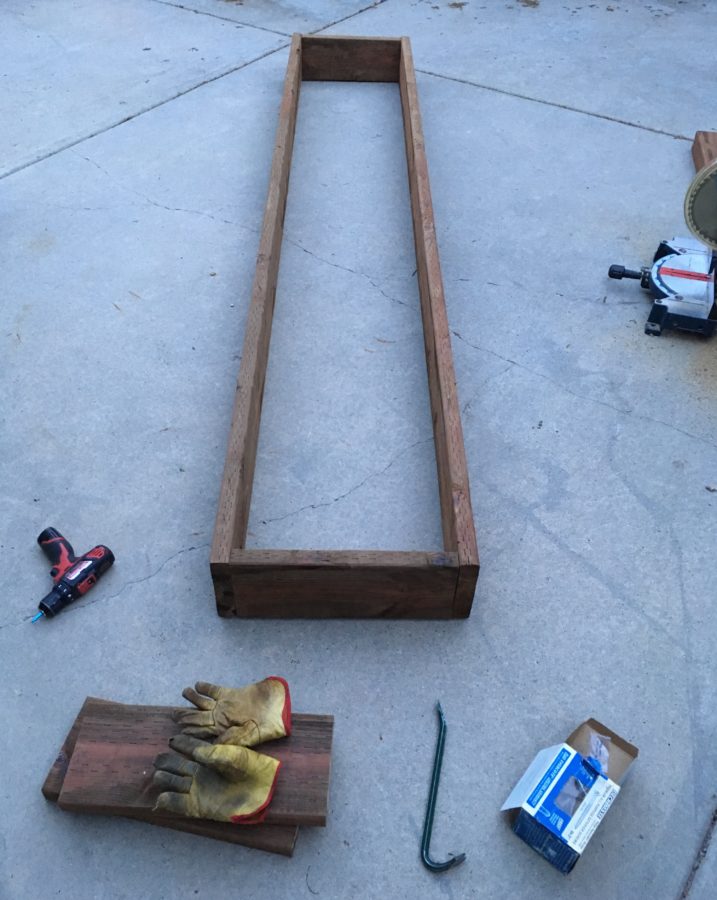
- Measure and cut the end boards. Each end board is 18 inches long.
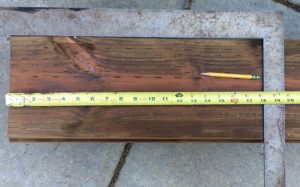
- Cut six boards, one for each end of each box.
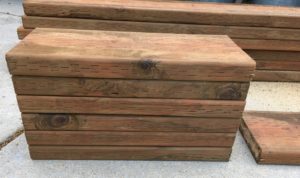
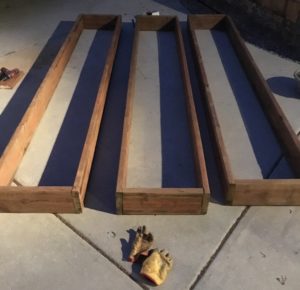
- Screw the boards together. Make a box by screwing the end boards between the 10-foot-long side boards. We used three 3-inch deck screws for each joint. A small pry bar helps line up the boards so that they are flush as we screwed them together.


- Repeat the assembly process for the other two boxes. We spent about 1 hour and twenty minutes on the entire process, from start to finish, to create three boxes.